¶ X/Y Toolhead Alignment
¶ Tools required
- Work gloves
- Safety goggles
- Brass wire brush
- Calibration microscope
¶ Synopsis
To calibrate the X/Y offsets of the nozzles you will need access to the printer through 3D Labs Studio.
If your printer does not have network access, you will not be able to use the wizard, and will need to use a calibration print and enter gcode manually.
The manual method will be described at the end of this section.
¶ Prequisites
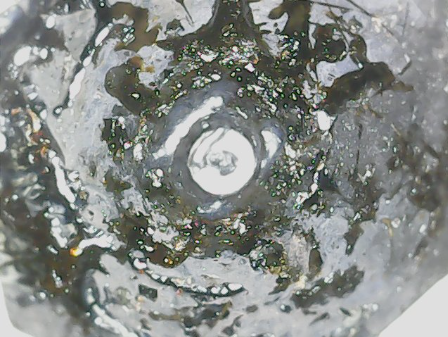
- The nozzles must be cleaned before starting.
- If the nozzles have not been cleaned, do so before starting the wizard.
¶ Dirty Nozzle
¶ Clean Nozzle
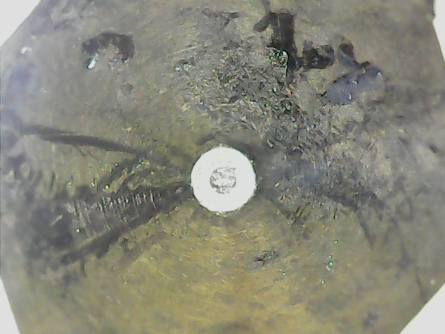
- Heat up each nozzle to the melt temp of the material you last printed with. E.G. ABS, use ~240C at the nozzle.
- Unload any material that is still in the extruder.
- Gently scrub each nozzle with a wire brush to remove any debris.
Important
Let the nozzles cool down to room temperature before starting the wizard or you risk personal injury and damage to the microscope.
¶ Instructions
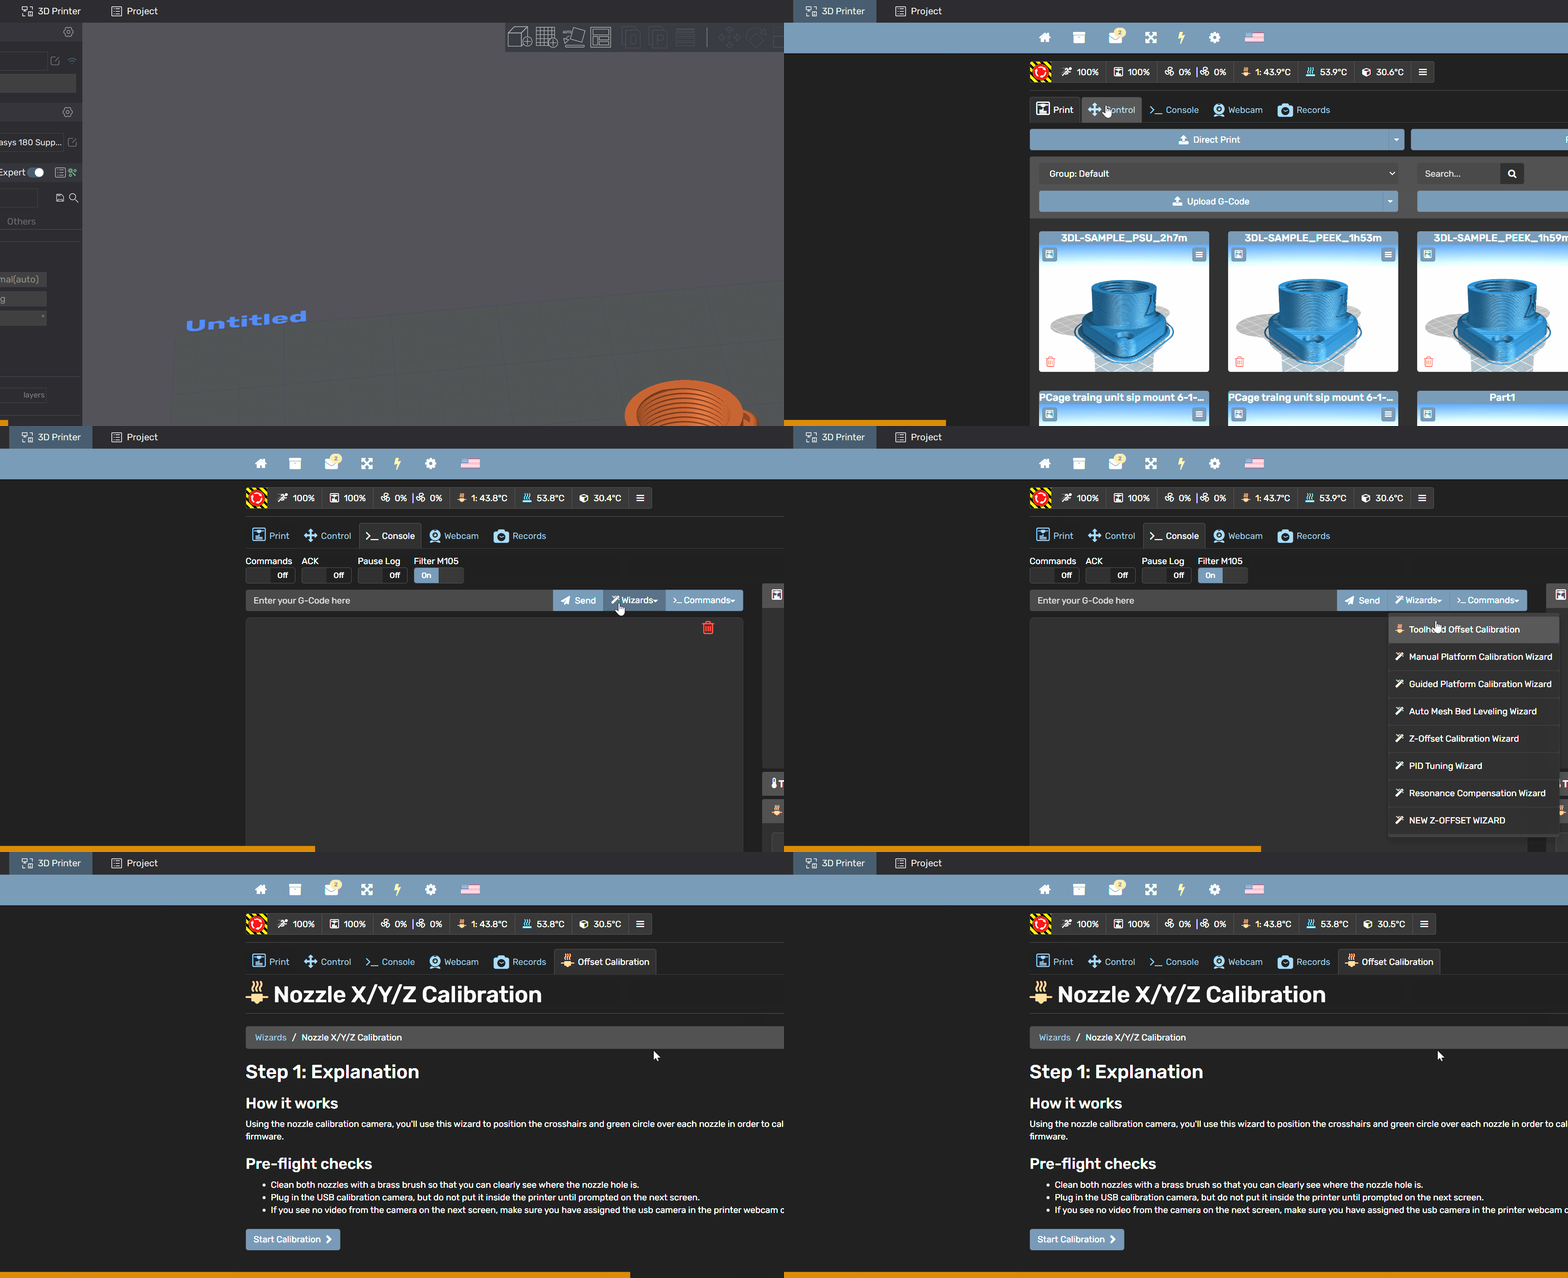
- Start the Toolhead Offset Calibration wizard by opening the 3D Printer tab in 3D Labs Studio:
Tip
You can also access the printer's interface in a web browser via the IP address.
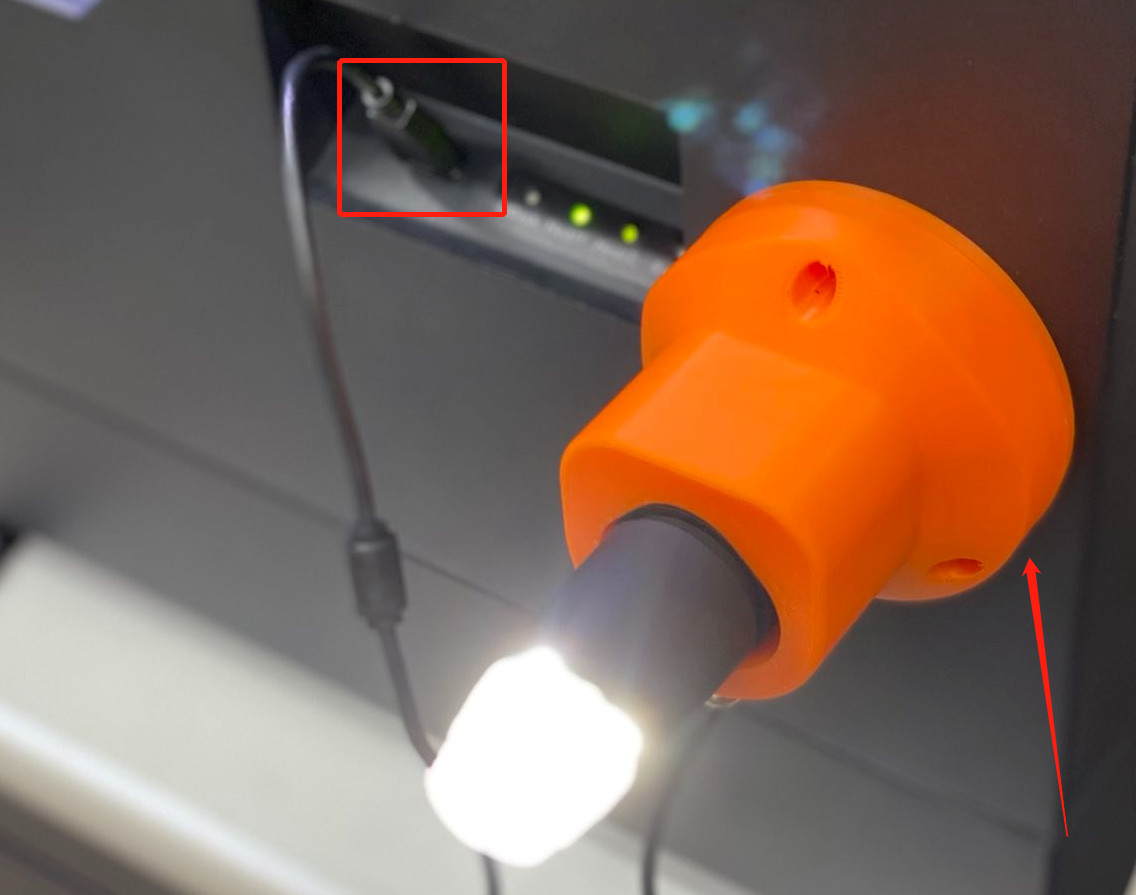
- Plug in the calibration microscope, but do not place it inside the printer yet. You can stick it to the metal frame of the printer as shown. (It's magnetic!)
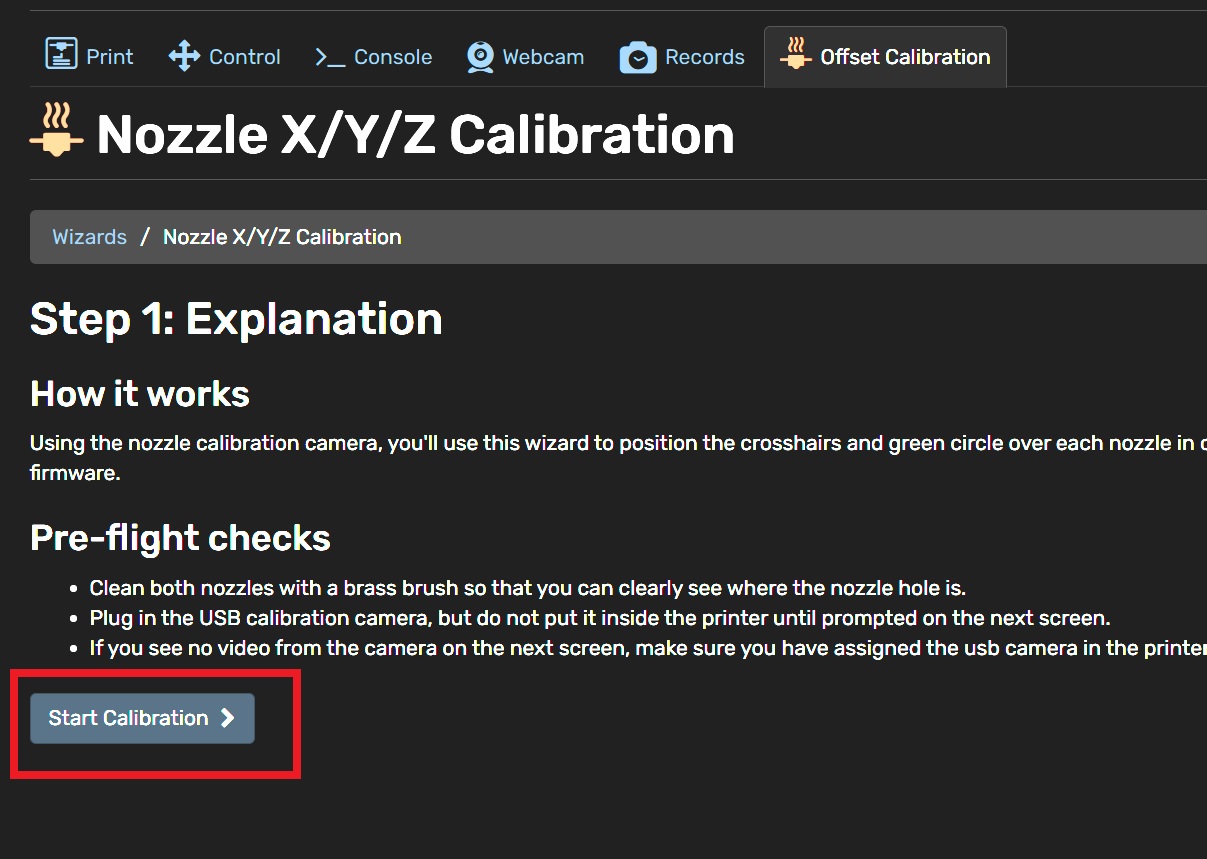
- Click Start Calibration on the wizard interface screen.
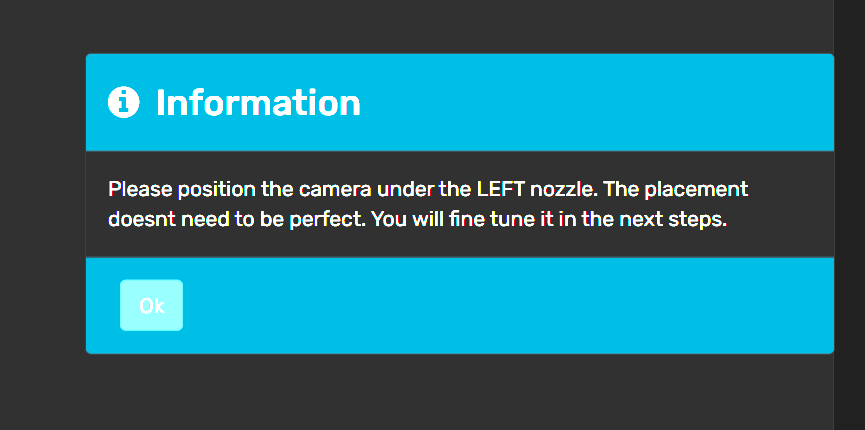
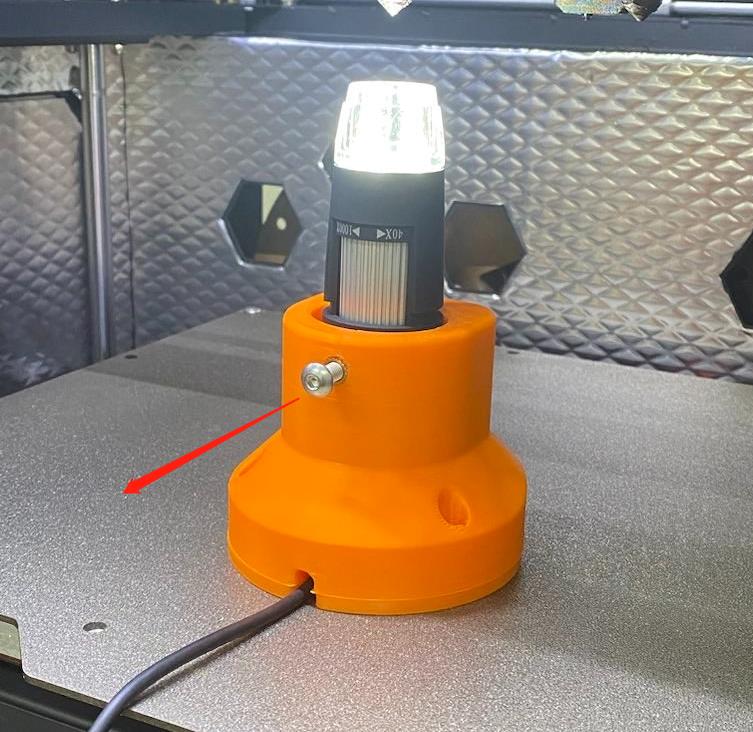
- Place the microscope under the left nozzle when prompted by the system. Orient the screw as shown. Try to make it as straight as possible (it doesn't need to be perfect).
- Center each nozzle using the jog controls in Steps 2 and 3 as shown in the video below.
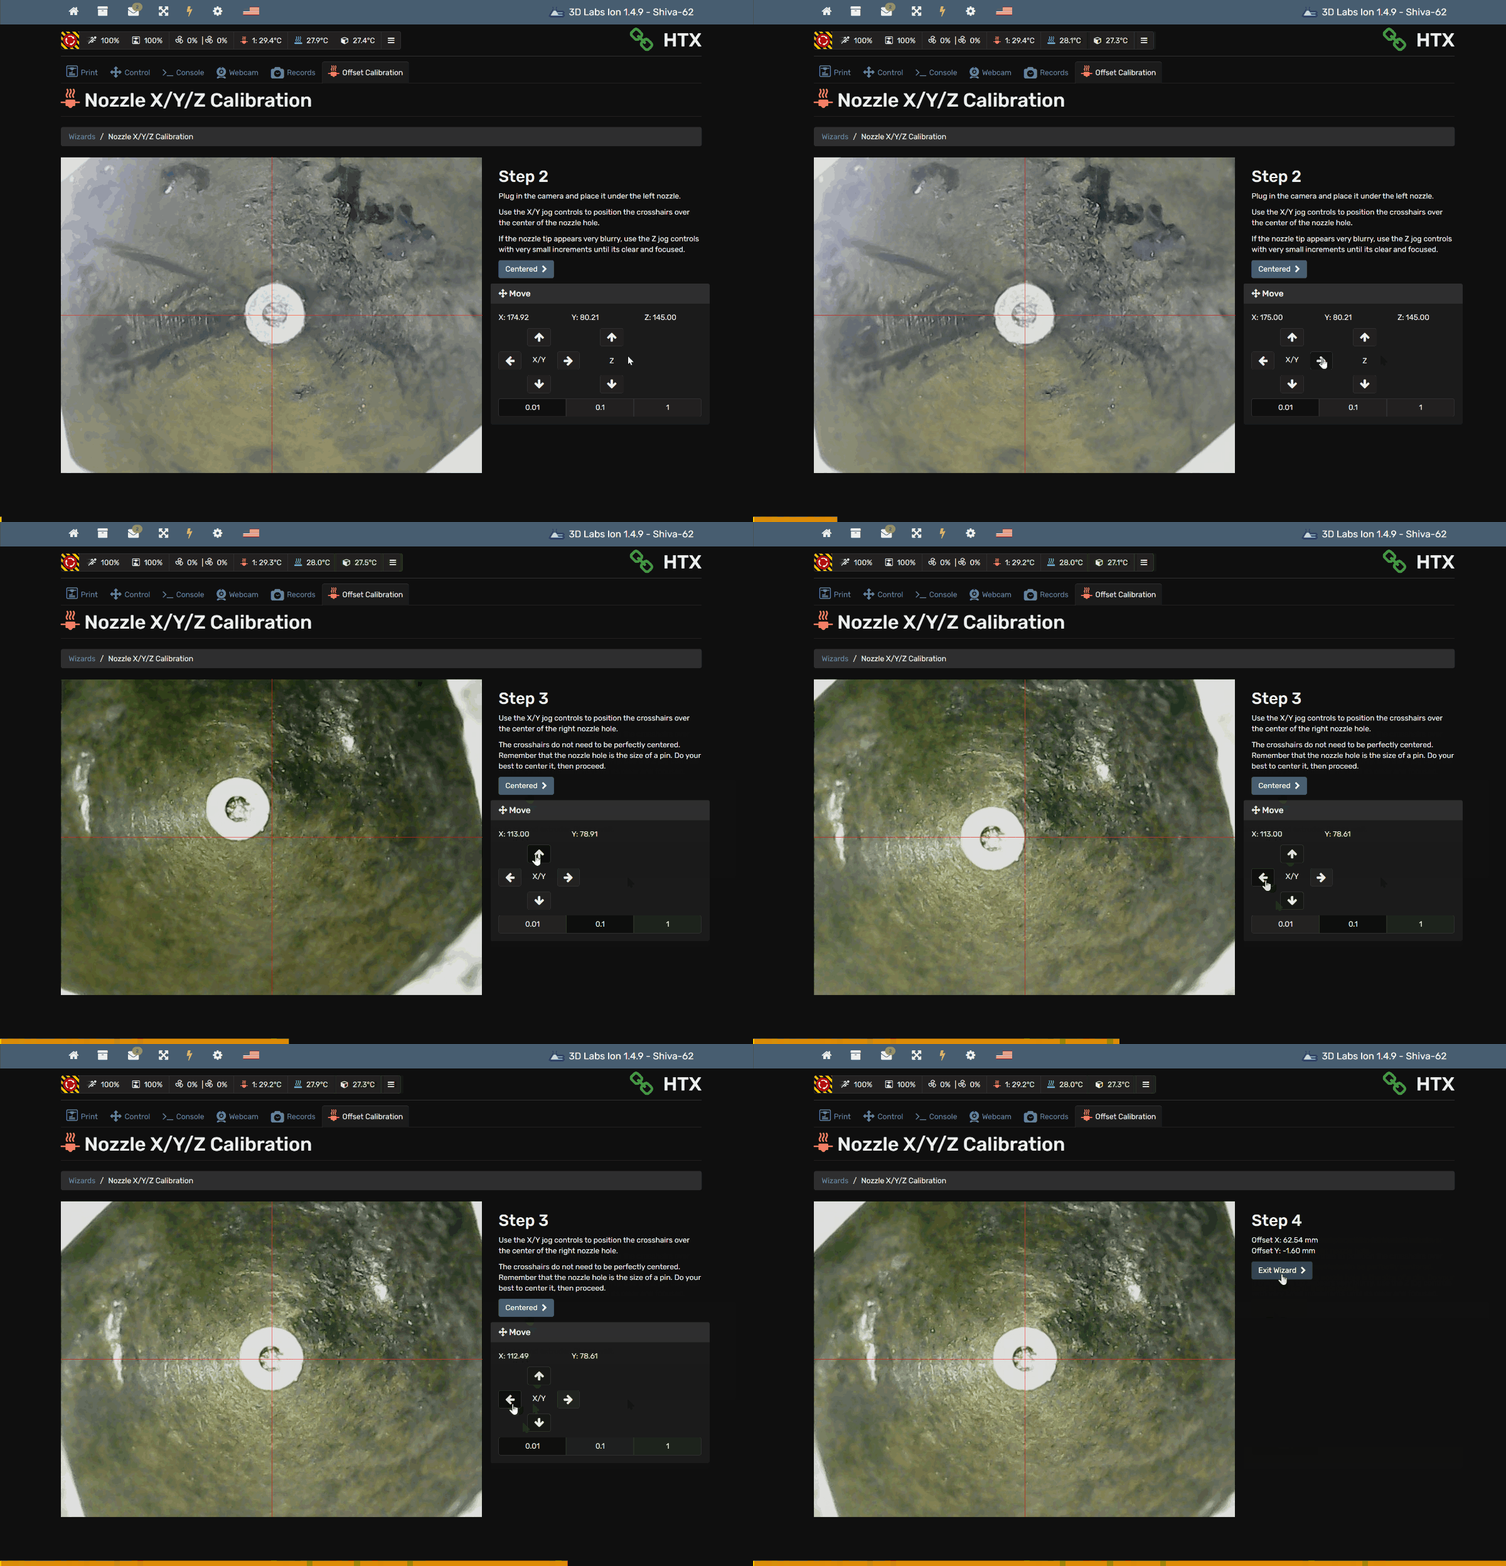
- The toolhead calibration is now complete and the firmware offsets are permanently saved to the firmware. You don't need to enter the offsets into any slicing software. The firmware will handle the positioning automatically.
Important
Don't forget to remove the microscope from the printer when completed. You can cause serious damage to the microscope and/or gantry if left inside the machine.