¶ Head Removal/Installation
¶ Tools required
- Work gloves
- Safety Glasses
- 2.5mm Hex Wrench
- 2mm Hex Wrench
¶ Synopsis
Sometimes it may be necessary to remove the entire extruder print head to send back to 3D Labs for a repair or swap. This guide will cover the removal procedure.
¶ Instructions
- First, remove the rear underside left and right screws.
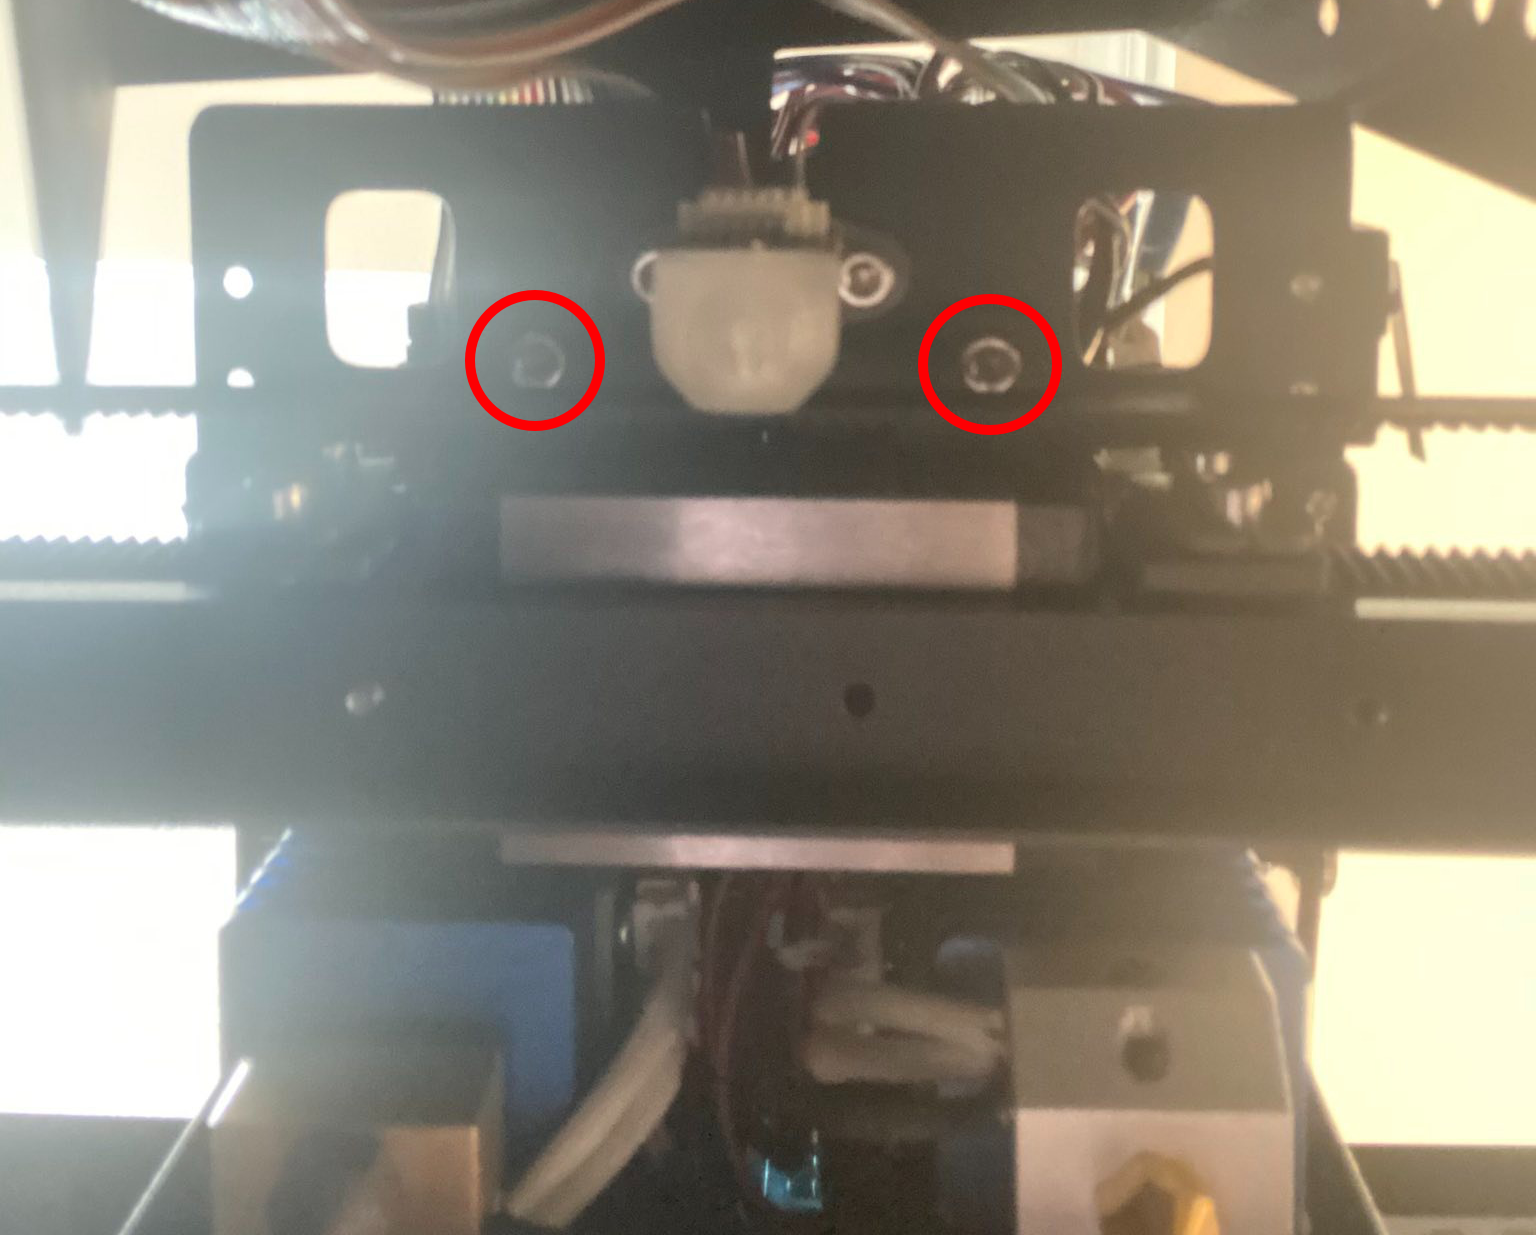
These screws are UNDERNEATH the extruder head in the REAR of the extruder, under the extruder box cover.
-
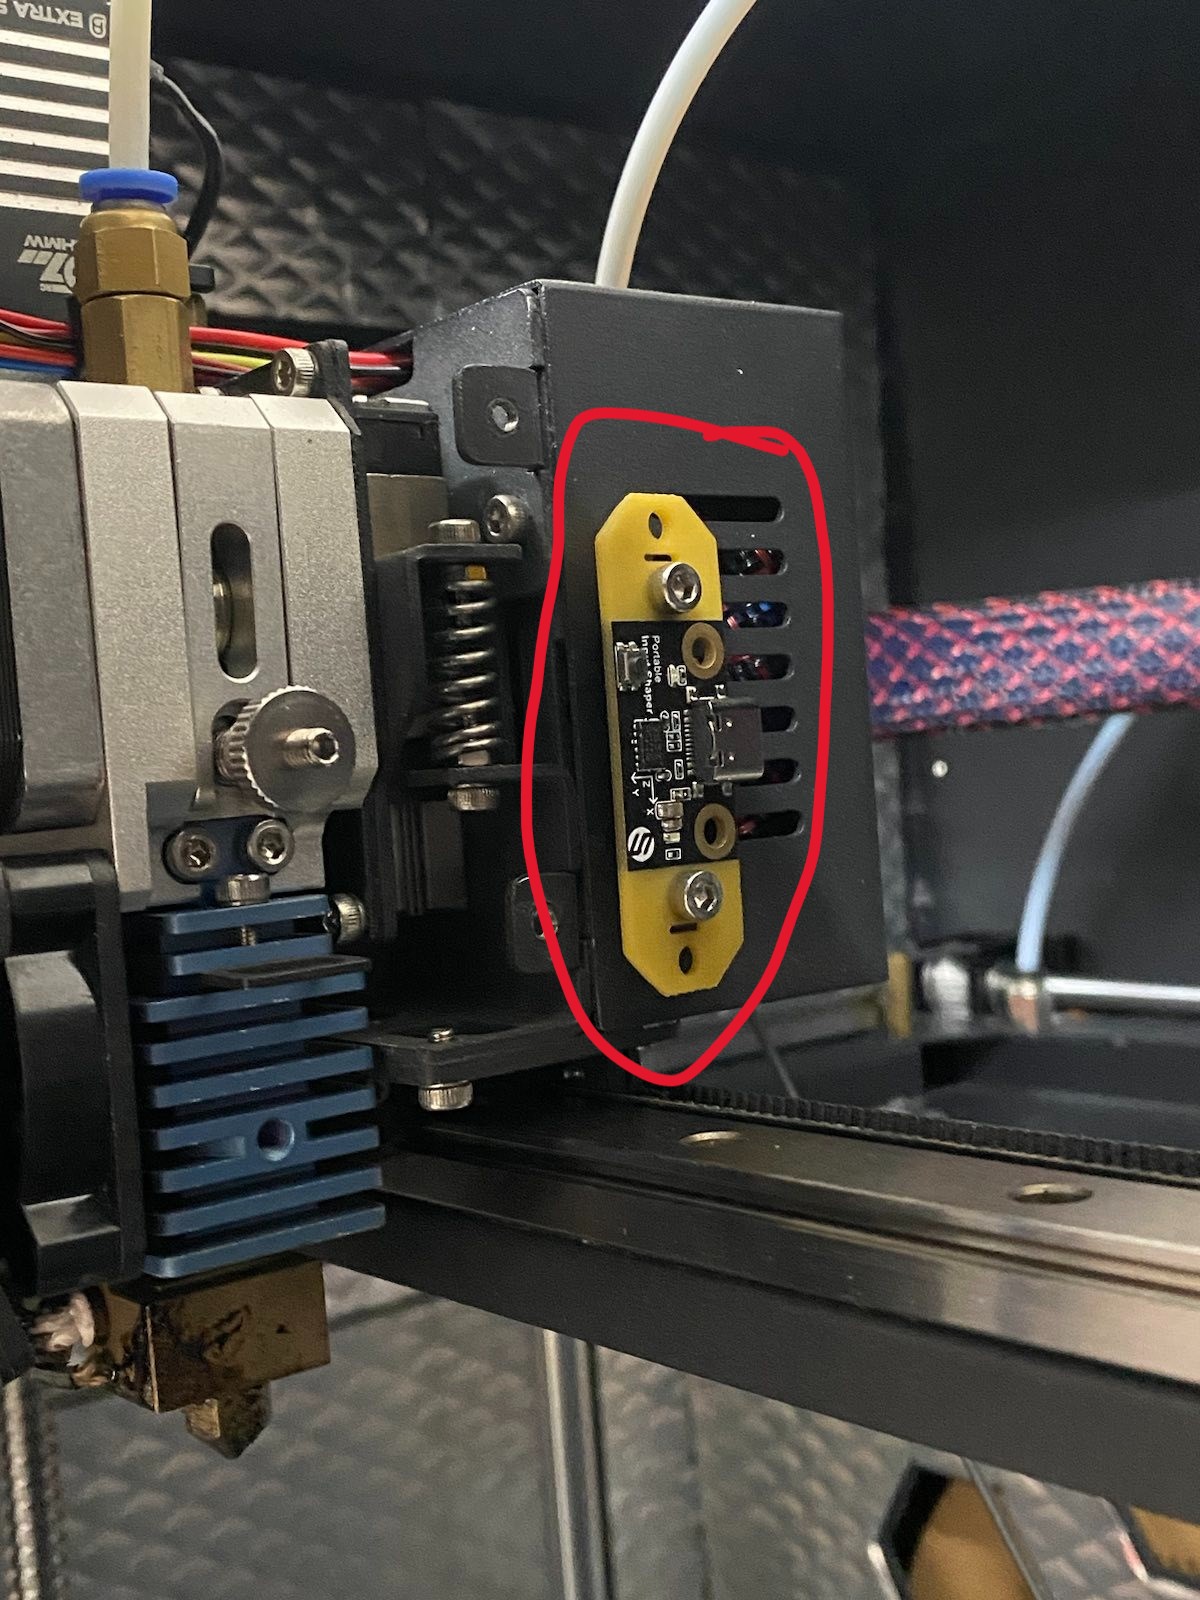
Start by removing the input shaping module screws to loosen up the right side of the rear extruder cover.
-
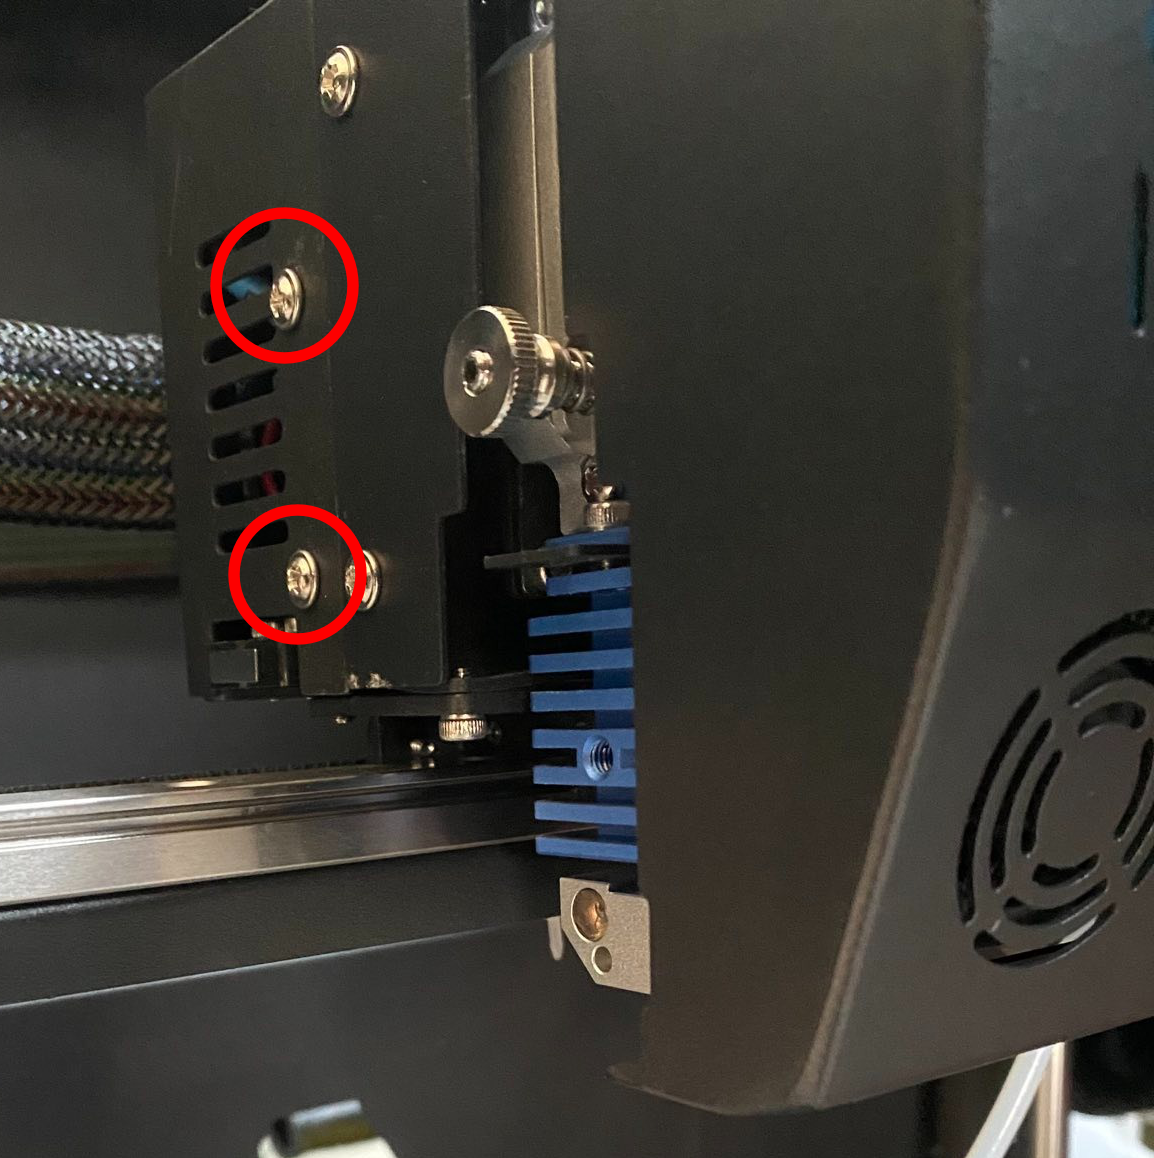
Remove the screws on the left side of the rear extruder cover.
-
Carefully unplug the ribbon cables from the extruder board.
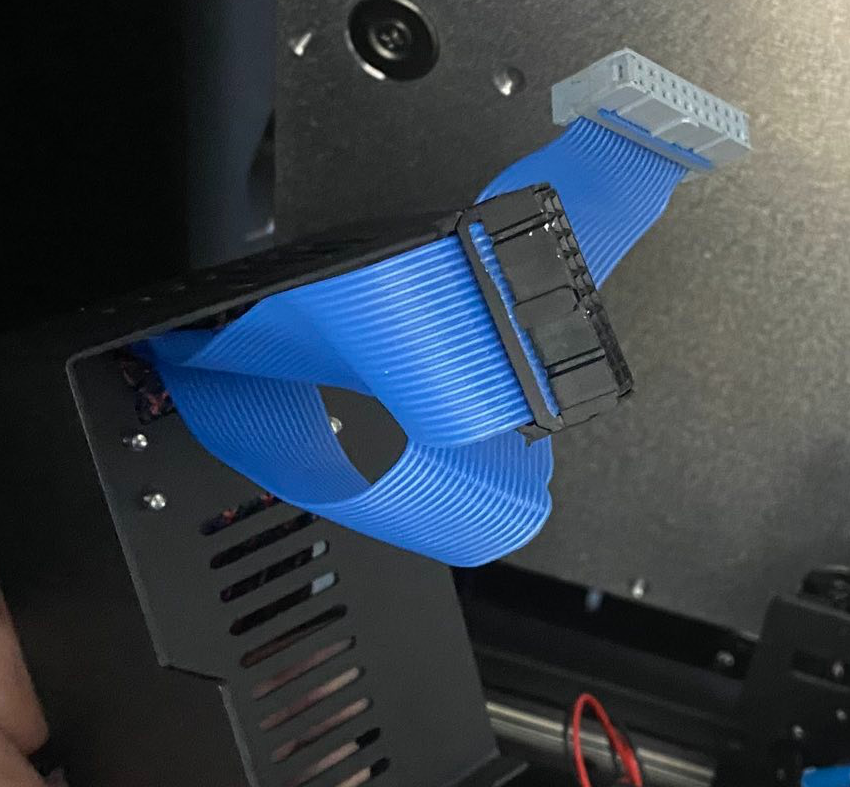
Do not attempt to remove the cables from the extruder cover housing. Only unplug them and set the extruder box cover to the side.
-
Remove the front lower right and left screws as shown.
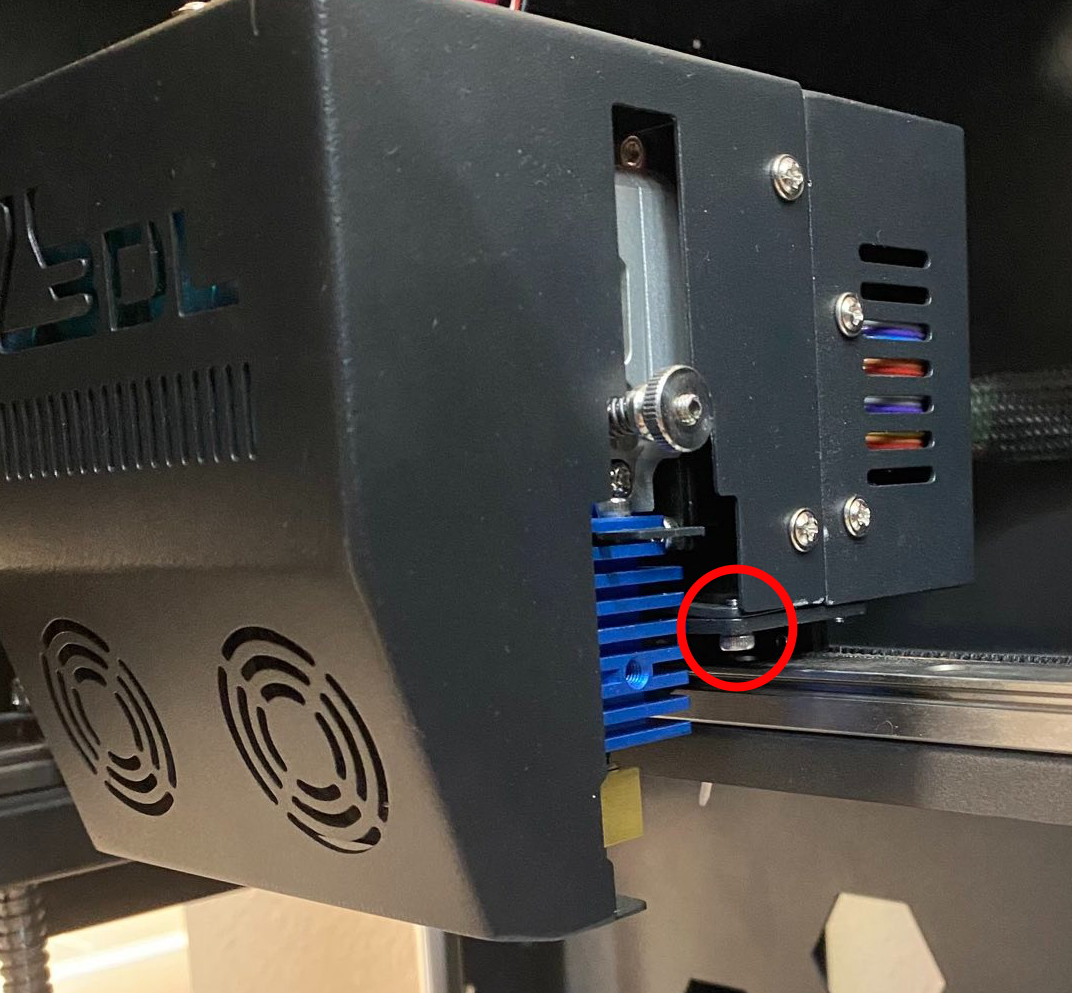
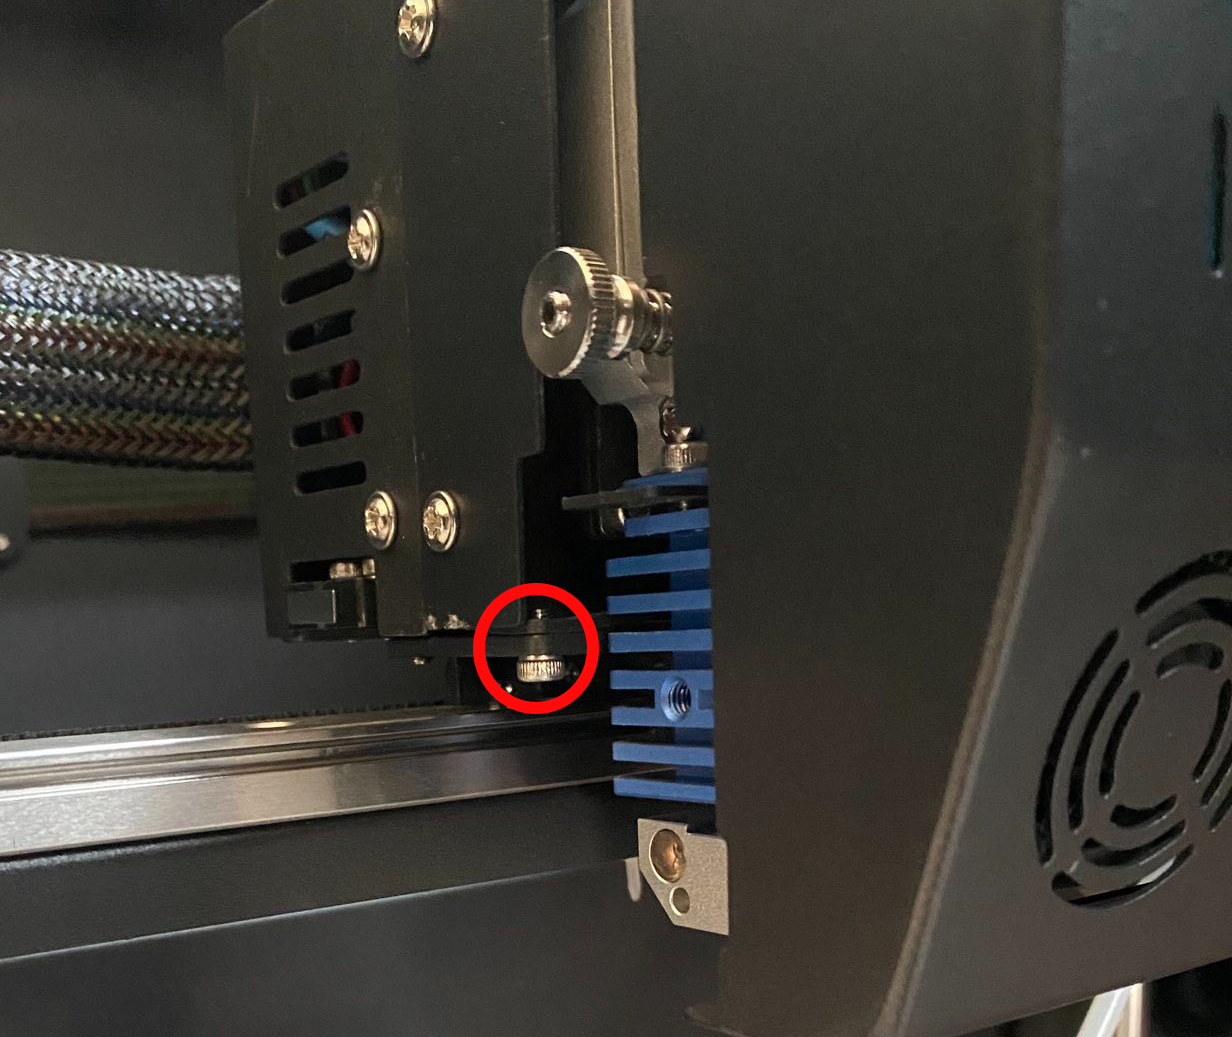
-
Finally, remove the rear top right and left screws as shown.
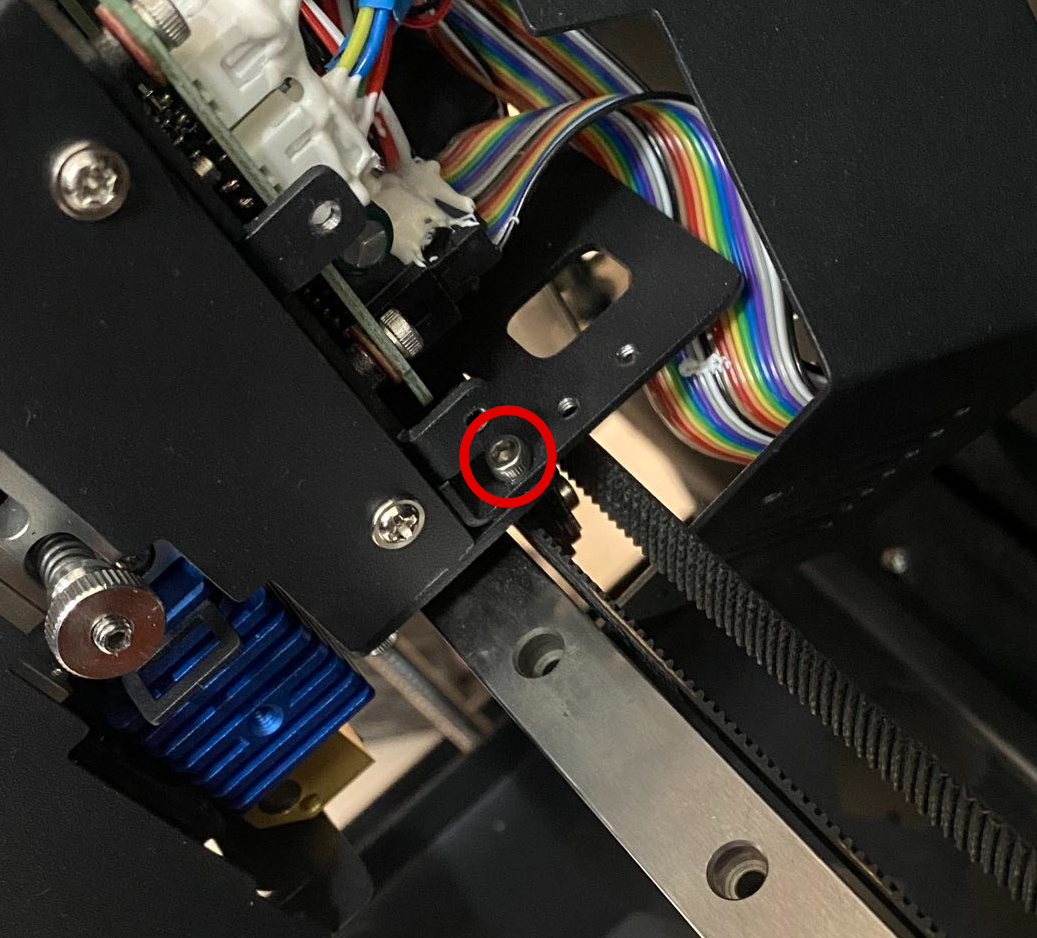
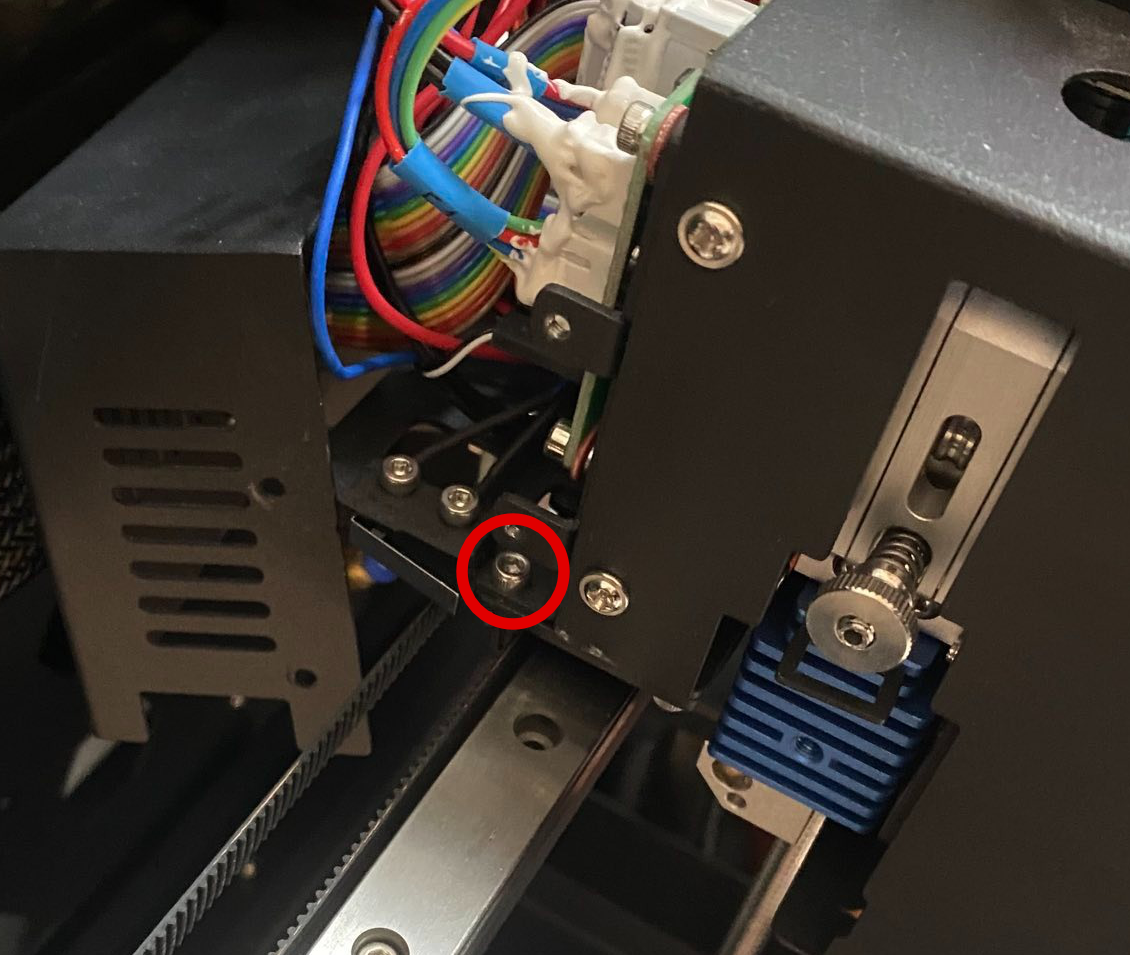
Important
The entire head will be loose after these 2 screws are removed. Make sure to hold the head securely when removing the 2 final screws or it may fall and damage the bed surface.
- Remove the entirety of the head and securely package it for shipping back to 3D Labs.
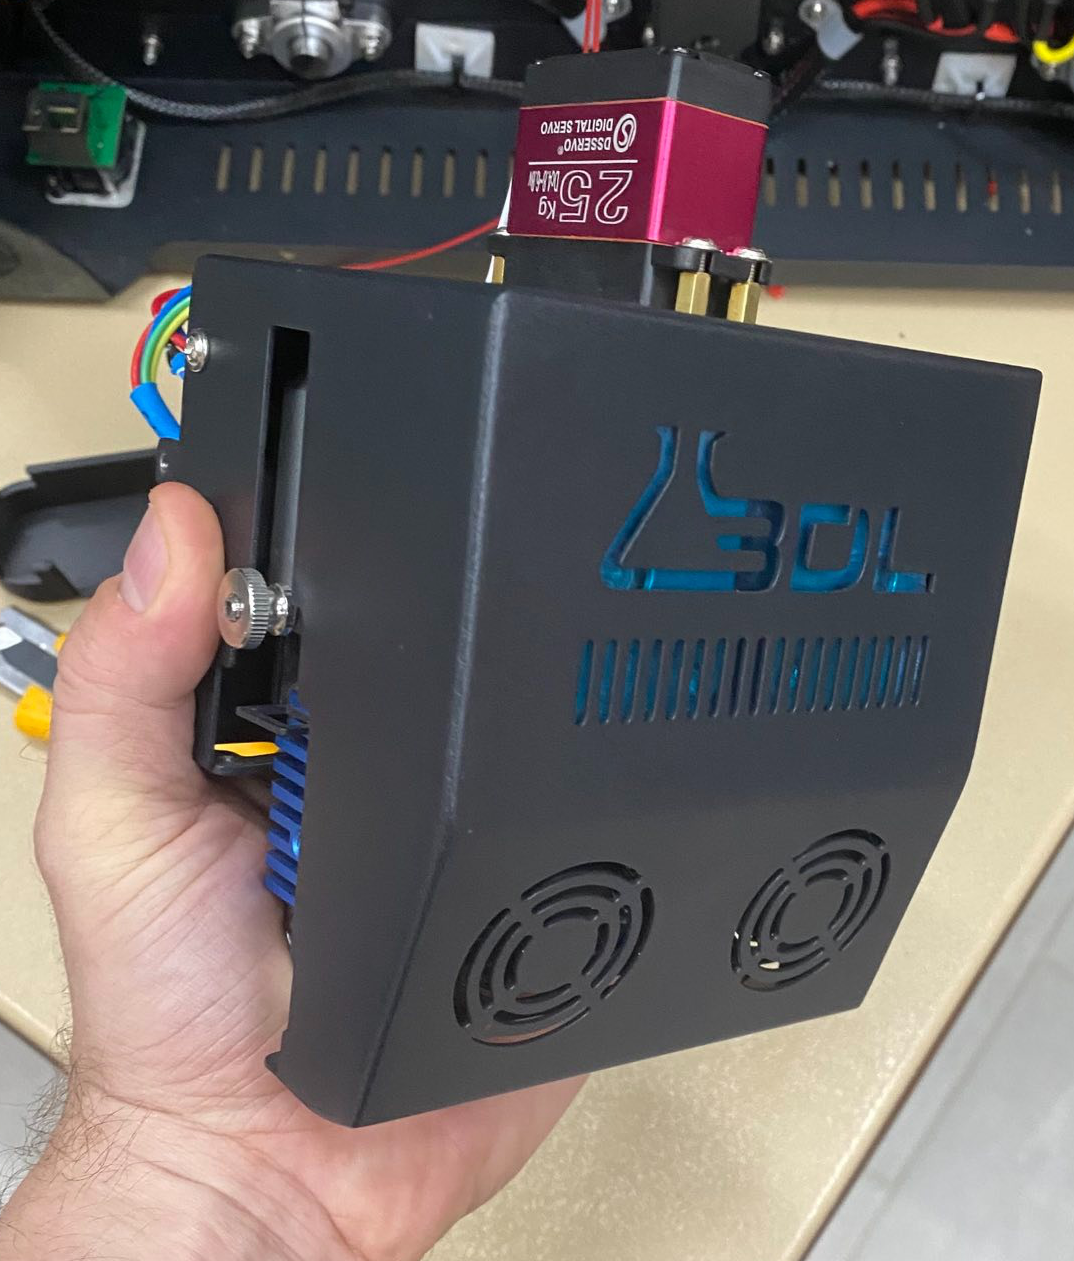
To install a new head, simply reverse these steps.